People might visit your website, but they cannot physically experience your product. Well, that’s a plus point with brick and mortar stores. People can just barge in and have a look at the product from all the sides. Also, these physical stores let you interact with the retailers so that all your queries are resolved within given time.
No matter the number of benefits eCommerce stores have in their bag, they lack in this particular aspect. Most of the eCommerce stores have static images which aren’t interactive at all. Plus, people can’t even zoom in and see from all the angles.
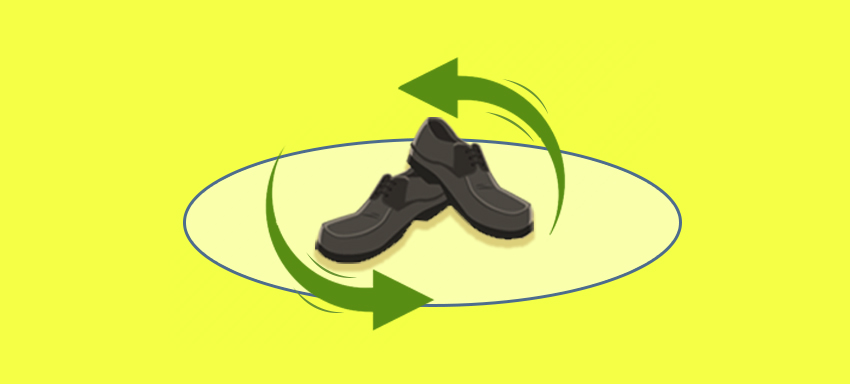
So what’s the solution? Here’s what you need to do! Show your product. Many eRetailers are moving towards 360° product views to showcase their products online. The 360° product photography not only facilitates the interaction of customers with the product but also gives you a feel of shopping from physical stores.
A decent 360° view sweeps the significant edge of physical stores over your online store. Read on to learn how to make a 360º view of your product pictures.
A 360° view is surprisingly simple. It is just a bunch of products photos shot at different angles.
When making a 360° view of a product, your camera doesn’t move around the product. Instead, your camera is mounted on a tripod and the product moves on a 360° turntable.
Once you’re done the shooting and editing your images, it’s time to find a good 360º viewer. Wait… what’s a 360º viewer? You can think of it as a highly specialized video player, purpose-built for displaying your images in an interactive 360º view. It’s like a glorified slideshow player — but better.
Now let’s make a checklist of the equipment you need for a professional 360º view.
1. Camera
2. Tripod
3. Tripod
4. Lights
5. 360 degrees turntable
6. Wired remote shutter release
Also Read: How to create professional quality product photographs using iPhone in under 10 minutes.
Here are some handy tips for setting up for 360° product photography—
1. Turn off image stabilization if your camera has it.
But why? It makes your product appear to be drifted away from the frame. Also, it can cause your image to look slightly blurry if you’re shooting with continuous lights.
2. Switch off auto white balance (AWB)
The color of your product will change considering it will rotate. So what to do? Simple — turn it to a fixed white balance setting that makes your white background paper look white (not too orange, not too blue).
3. Set the ISO of your camera to 100
Your camera’s “ISO” controls the digital sensitivity of your camera’s sensor (just like the retina in your eye!). The higher the ISO value, the faster it can absorb light, whereas the lower the ISO is, the slower it can absorb light (like putting a pair of dark sunglasses in front of your camera lens).
4. Set your camera to ‘Manual’ Mode
This is usually ’M’ mode in all the cameras. Why? It’s the only way to keep the brightness perfectly consistent for each and every frame of your 360º view. Trust me now, thank me later.
So now that you’ve got a sneak peek at the 360º product photography. What next?
You’ll need to upload your product images to the 360º viewer! A 360º viewer will display your images and make it attractive.
So if you also want a 360º view of your products, waste no time and connect with QeRetail- Your eStore Handyman. We render world class services that will make you thrilled. If you want to see our work, click here.
Don’t stay aloof; Be a trendsetter!