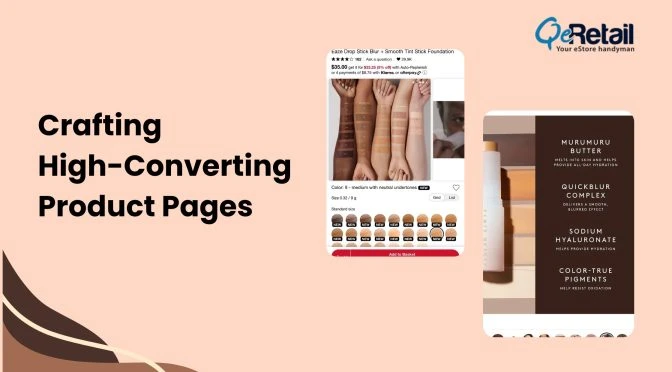
Not everyone can easily afford a DSLR. If you are just planning to start your e-store, you will need some good quality photos of the products that you will be selling. No one has ever said that having a DSLR is mandatory.
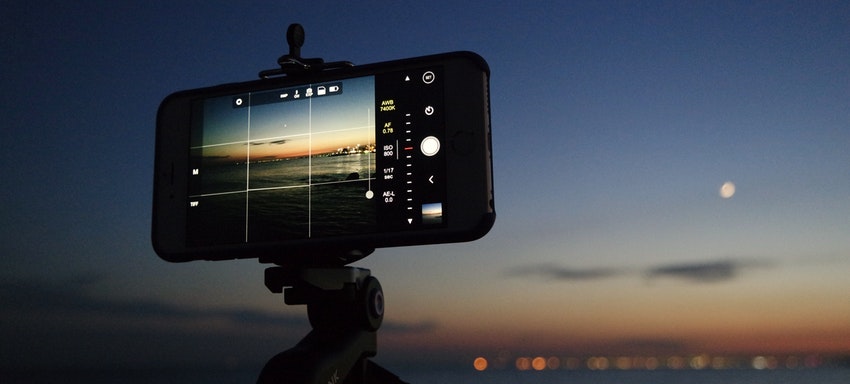
With each new model of smart phone that gets launched, it’s features are becoming power-packed. Probably, your smart phone has all those features which a Nikon or Canon digital camera had 10 years back. Maybe that small lens behind your iPhone is more capable than a digital camera today.
People have captured some amazing photographs using it. So why not try a hand at product photography?
With tried and tested methods that work, lets walk you through the complete process from scratch.
Imagine, you are following a cooking tutorial. What will the master chef tell you before you start to prepare your dish? He will probably tell you to gather the ingredients. Lets do that then; here are all the ingredients that you will need.
Before that, keep in mind this thing: You will find many articles out there which show how professional photographers use lighting set up and an iPhone to create stunning pictures. Leave that for professional photographers only, we are focusing on someone who is a novice to photography and wants to market the products on social media platforms or marketplaces such as Amazon, eBay and Etsy.
All the ingredients that you will need to take some amazing product photographs using iPhone
1. iPhone 7
2. Gorilla tripod stand
3. Table
4. Light
5. Additional lens (optional)
6. White papers
7. Third party apps
8. Patience (mandatory)
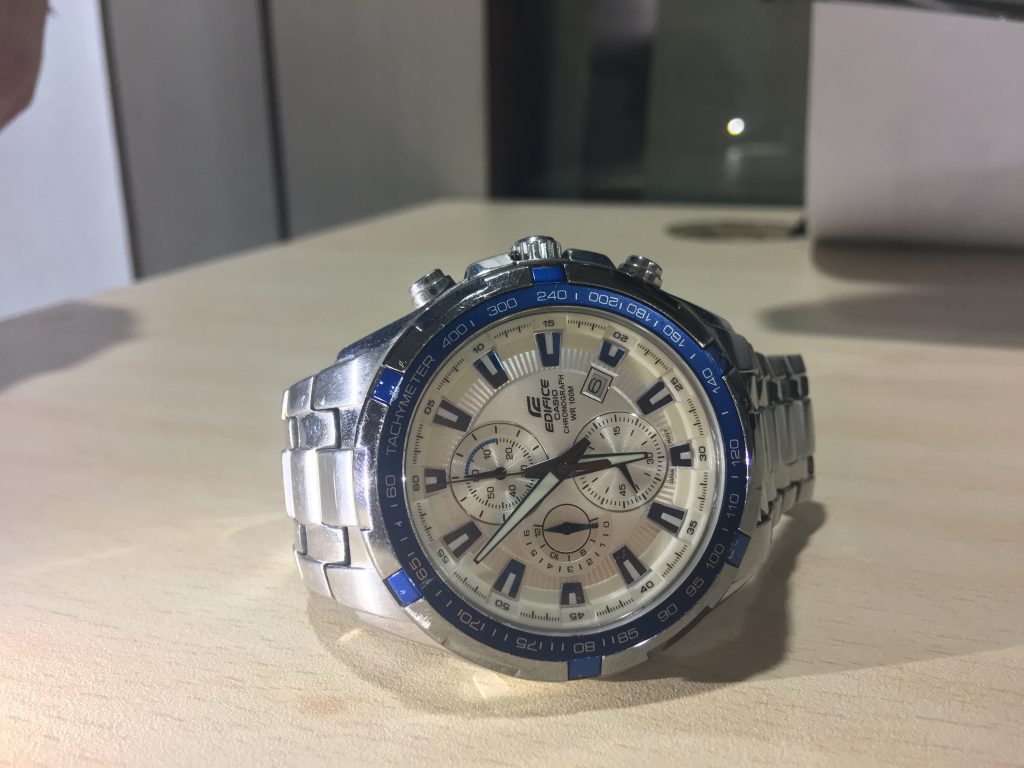
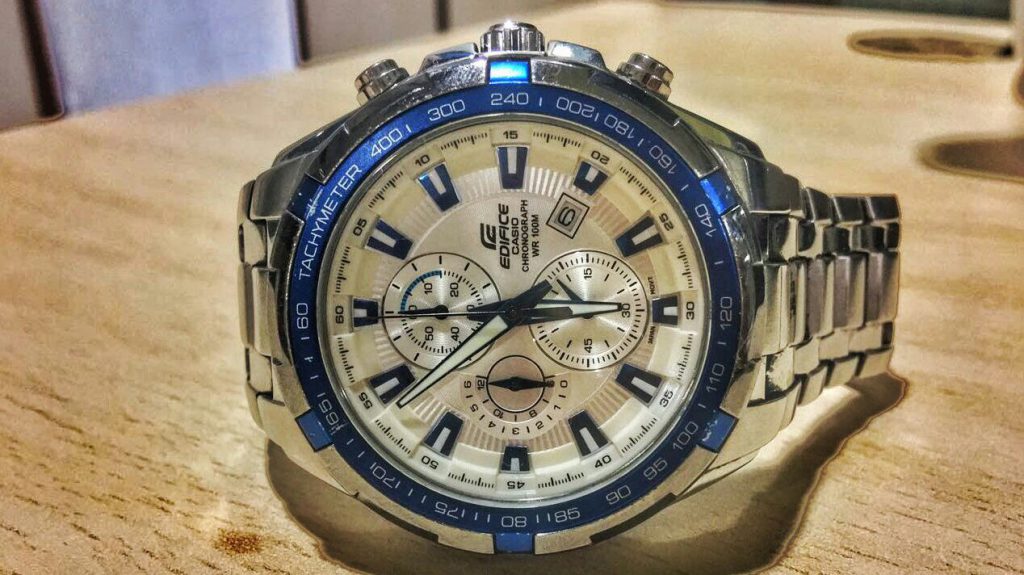
To start with, we will take an example of a simple wrist watch.
Something like this:
The Bread and Butter:
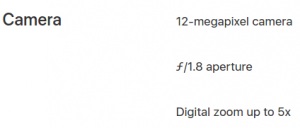
Specs:
Accessories
A gorilla tripod stand for stability and angles.
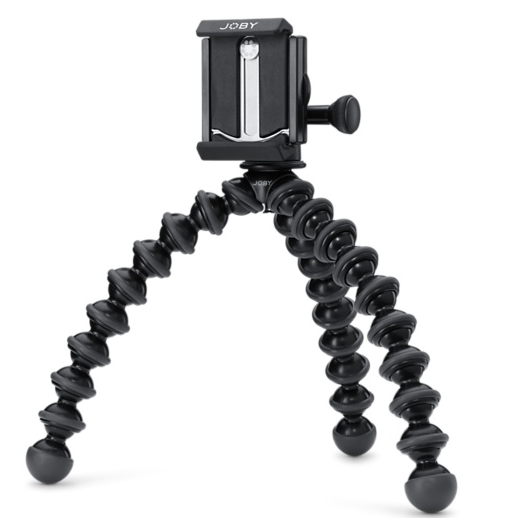
This particular tripod stand is very flexible and can be used in many different positions. It will help you stabilise your phone meanwhile allowing you to move freely. You will simply need to mount your phone on the mount stand and place it on the table while capturing images.
Here is a quick guide to learn about product photography for beginners using a DSLR
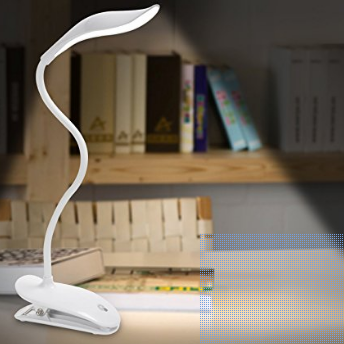
Next, you will need is light. Now if you notice, the aperture value on this phone’s camera is f/1.8, which is pretty good for a phone camera. Simply put, your iPhone has the ability to capture more light from the background. That is a good news, you can make use of some artificial light and the result will still be outstanding. Assuming that we will be shooting indoors, you will need one or two LED lamps and a small table lamp.
This lamp below is the sort of thing we are looking for.
Also you can use these torch lights for some background lighting.
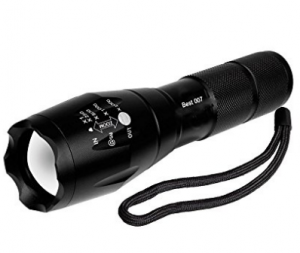
Don’t go on it’s size. These small lights here are quite powerful.
White papers for background
A soft white background bounces the lighting off it and doesn’t allow the light to reflect on the product sharply. Sometimes, too much lighting can kill your image. The final output should be soothing to the eyes and not hurting the viewer’s vision.

Moreover, having a soft white background nullifies distractions and eases the editing part. Also, this helps you ‘white balance’ your final outcome. Sometimes, due to the sharp glow from the artificial lights that we are using, the photographs produce an ‘orangy-red’ glow.
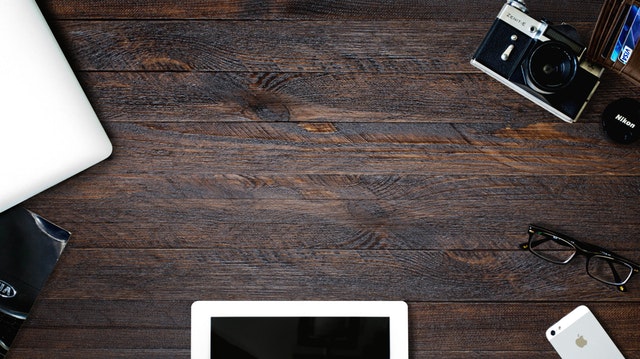
Next we recommend using a nice table. This gives you height and makes it comfortable when your subject is small in size.
You can use a table background that looks like this:
or this:
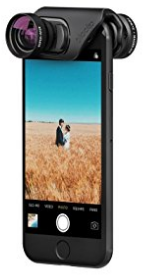
Additional lens:
This step is optional but worth considering. Since there are limitations to a smart phone’s zoom-in capacity. Now, if you want to do macro photography and zoom-in tightly onto your product, you will need an external lens.
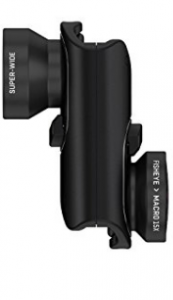
With this lens you can zoom in 15x closer to the subject which can take some solid macro images. Such pictures can give some infinitesimal details of the subject. It is an easy to operate lens and does not require any technical know how.
Editing apps:
Photoshop express. (Free)
This app will give you probably all the tools that you will need to edit your photograph. It is a robust photo editing app developed by Adobe itself.
Snapseed. (Free)
Simple, easy and all in one photo editing app. With some great effects and inbuilt tools you can tweak the photographs the way you want.
Patience
Why this? Well, the main task starts now.
Setting up everything needs patience. You will need to attempt to create the set up many times until you get the desired outcome. Be patient while we walk you through the set up process.
Lets answer one good question first.
Why a proper setup is required? Can we not just take a normal photo and then run it through Photoshop?
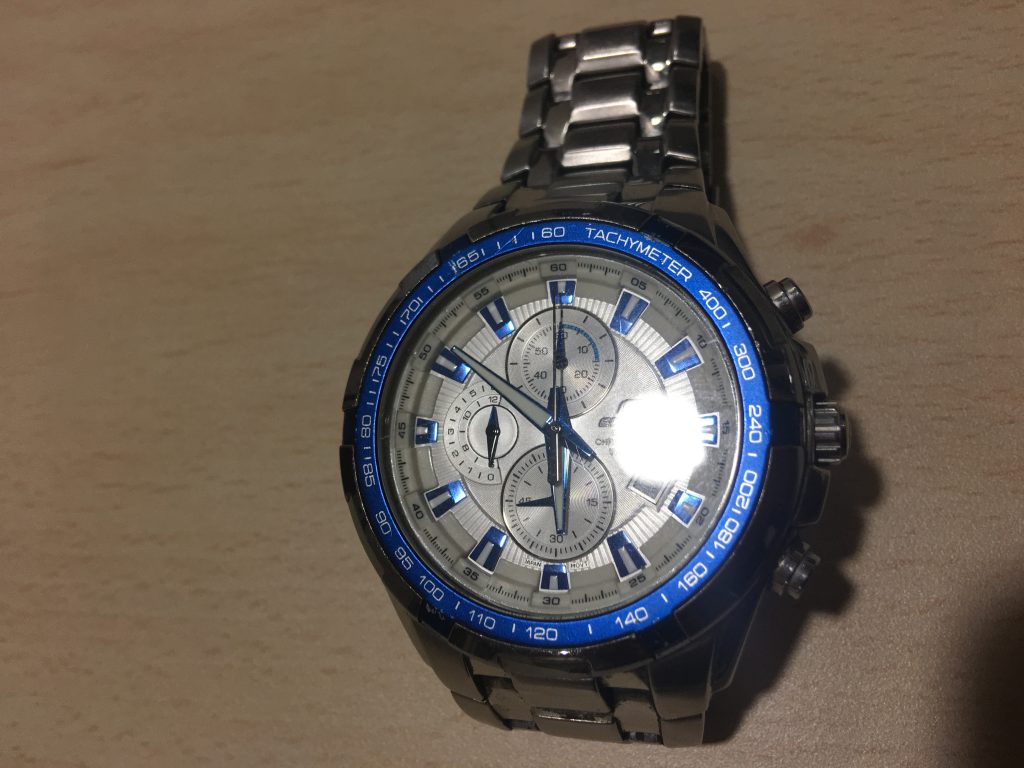
To answer these questions, have a look at the images below. We took these images with an iPhone, on a wooden table and under some good amount of lighting.
Do they look appealing to you?
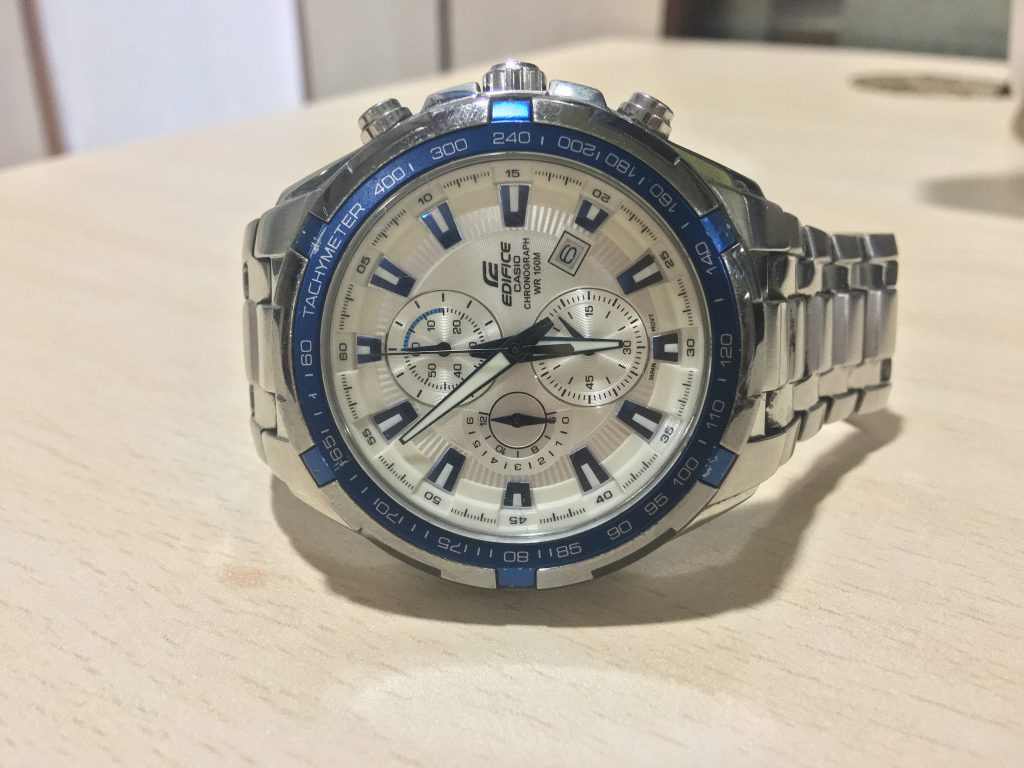
Even after doing some tweaks and editing it will still not create a visual appeal.
Why?
The only answer to that is Lighting. No matter whatever you do, you cannot recreate the exact required amount of light that prevails at the time of taking the actual photograph.
Do you see the the bright spot of light getting reflected on the dial?
That is annoying, isn’t it?
And that is why product positioning, background setup and proper lighting becomes the paramount factor in product photography.
Below is the setup by Tilo Gockel— a professional photographer and an expert in the field of lighting and flash lighting. He has used the same set up that we have been talking about. His blog title here says, ‘The lighting matters, camera does not.’
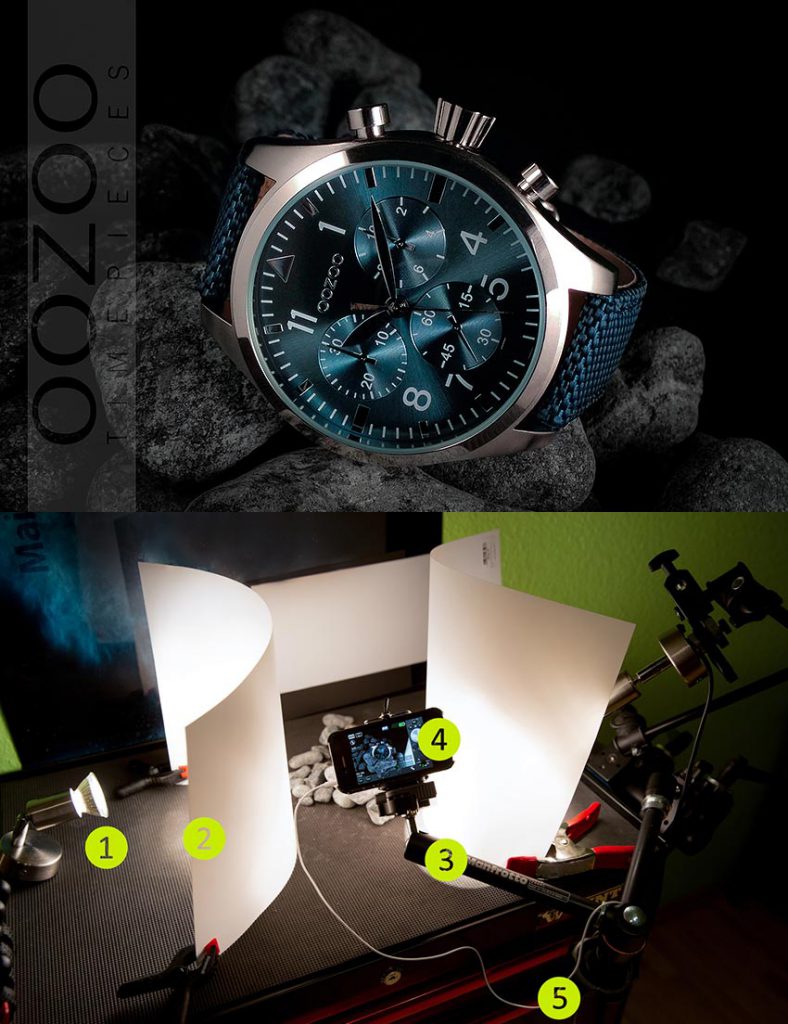
If you will notice, he has used some professional quality effects with Photoshop for the final editing. Again, we are not focusing into so much technicality for now. Maybe we will keep that for a later part. At this point of time, all we need is some good quality images of your product, to help you start selling.
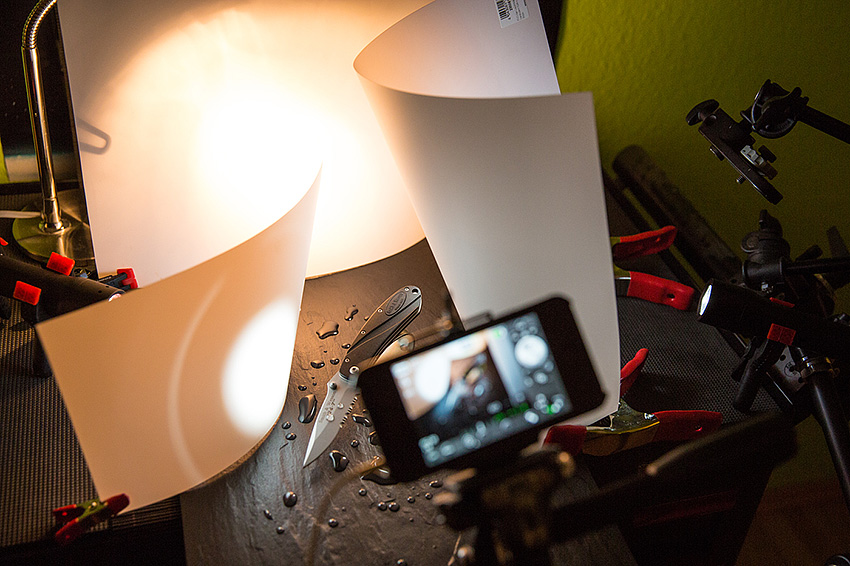
So, as you notice in this image above, keep the table in some comfortable place and choose a point to start with.
Next, place your subject (watch) exactly in the middle of the table so that you are left with enough space for the background setup.
In case of a watch, best practice would be to rest the watch on the side of its dial in a way that the crown of the watch faces upwards. This will prevent the light from creating glare.
Place the main LED lamp just above the subject and keep adjusting the position of the light unless you get the desired focus.
Tip: If you feel that the subject has been placed exactly the way you want but not getting the needed result yet, try adjusting the position of the lights and do not move the subject.
We had discussed the importance of white papers in the previous paragraphs. Here is where they come into action. We do not want the light to make a beeline for our subject. Place the white papers in front of those lights to make it soft.
See the setup above? That is how we would need papers to be kept. See how those translucent papers are allowing only a minimal amount of light to pass through them, also spreading the light at the same time.
Once you are done with the setup process, next comes the angle of your camera. Since you have mounted the device on a movable tripod, it should be easy for you to try out numerous positions.
Keep in mind that, ideally, the angle of your camera depends upon the position of your subject.
Think of it this way, if your subject is in a resting position, the preferred angle would be from the top. If your subject is an standing position, meaning if it has been manipulated externally, keep your camera angle straight.
Keep adjusting your device and you will know once you have found the correct angle.
The next big step in line is focusing. If you are not using any external lens, use the auto focus of your iPhone by tapping onto different parts of the subject on your phone screen. If your subject is small enough, you will be able to focus the entire product.
All you need to make sure is that the logo of the product or a particular remarkable factor of that product doesn’t go out of focus.
By now we will assume that you have the perfect setup ready, you have got the perfect angle, the lighting is perfect and all that is needed now is just the click of the button.
Take multiple photos from the angle you prefer. Once you have enough pictures, try another angle and take some more. Having a back up is great. Having a backup from another angle is even greater!
So, there. You have your stunning product pictures with you. All they need is some basic editing and Voila!
Editing:
Select the best out of those pictures and upload it on any of those editing apps mentioned above.
There are some basic recommended tweaks that you need to make.
Firstly, focus on cropping the picture. Crop your image such that the background remains well balanced and ratio doesn’t go haywire.
Next, try sharpening the image and remove any shadows that pertain. Do not worry, you will find these options inbuilt into the app and all you need to do is just slide to your left or right to adjust the effects.
Adjust the contrast of the image and give it a correct tint. That is all.
Just look for the aforementioned names in the apps. Try not to experiment with anything that you do not understand thereby ruining the image. Just look for Crop, tint, contrast and shadows.
For your reference here is the image before and after running it through editing.
Before:
After:
That’s all folks! Take that phone out of your pocket and give your business a Wingardum leviosa (levitation).
Let your customers know what they are buying and keep growing your goodwill.
Lights! Smartphone! Shoot!